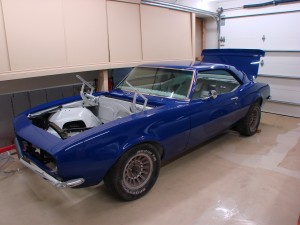
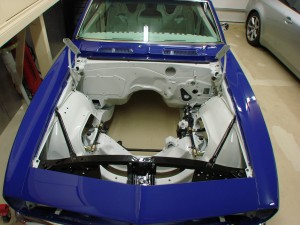
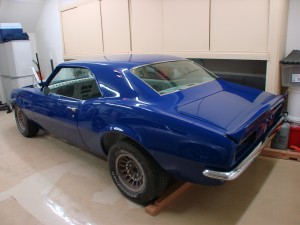
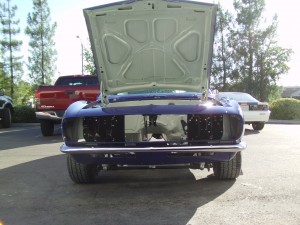
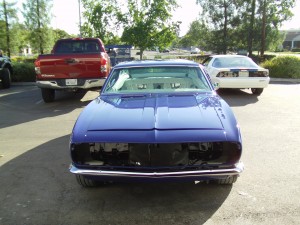
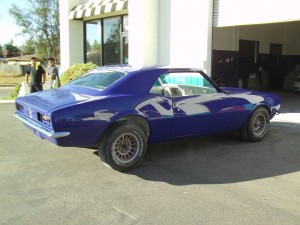
Rear brakes and subframe connectors
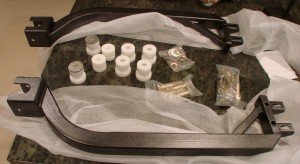
Initial progress over the holiday weekend. Rear brakes (rotors and calipers) and subframe connectors got installed.
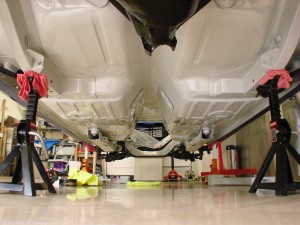
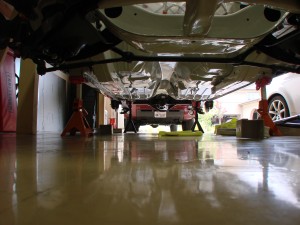
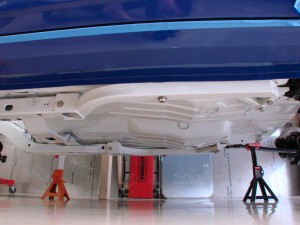
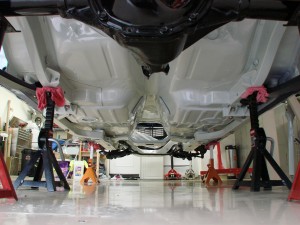
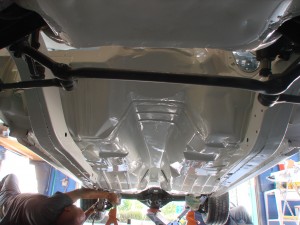
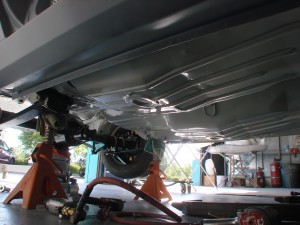
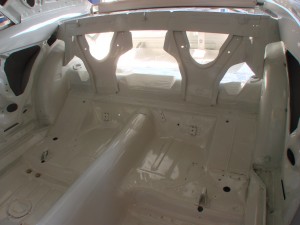
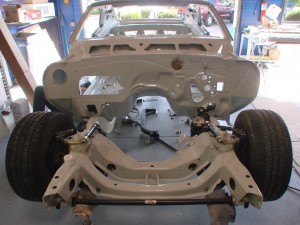
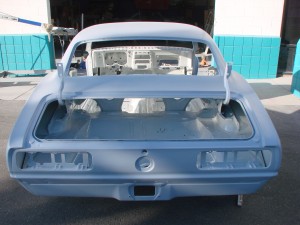
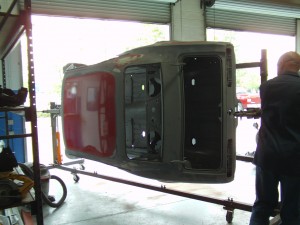
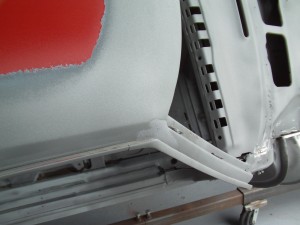
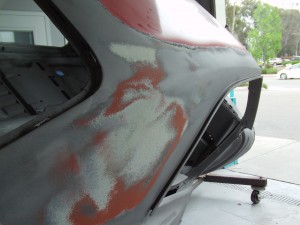
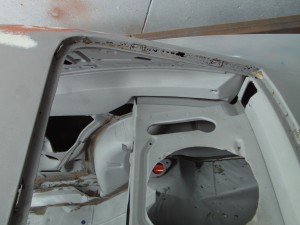
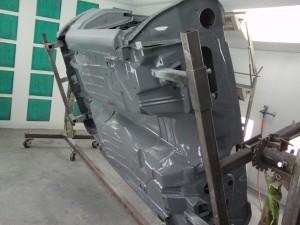
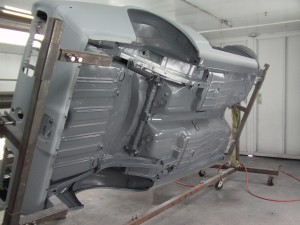
Before getting started on the connectors, decided to wax the underside of the car. Not that this is something I plan to do often (or perhaps, ever again), but it should help keep the underside clean, easy to wipe off any dirt and grime that lands there. With it all bare, this presented the last good opportunity for this extra protection before the car’s underside starts to get “busy” with plumbing and other equipment.
View from the rear-
And from the front-
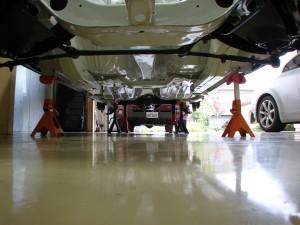
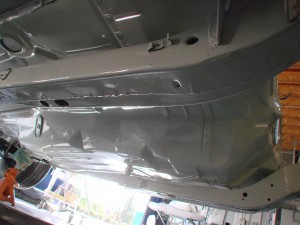
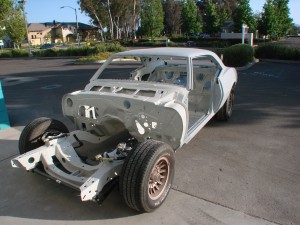
And here, post-installation:
Can see they were painted the same light gray used elsewhere…figured they’d stick out if kept their original color:
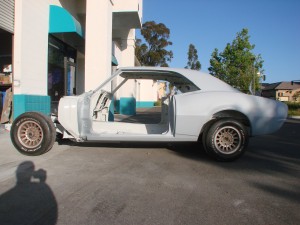
From the side:
And the back:
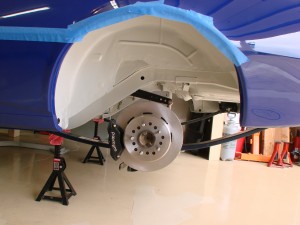
And the brakes. I bought these a while back. Decided to stay with a modestly sized rotor (12.19″) as it allows for use of 15″ wheels for the real vintage look, if the situation ever warrants. For autocross, these are probably overkill, while being a little small for track duty. Thinking I would like to run the car at the track a little bit some day, Laguna Seca and maybe Streets of Willow. With its autocross geared rear end, it’ll only be good for about 115 in 4th gear, not enough for most tracks.
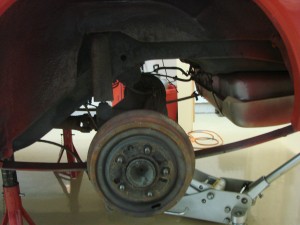
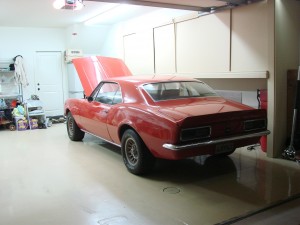
Compare to how things looked a year ago:
Another good thing about this kit, is there are several different Wilwood calipers that can mount in place with no other changes. Because we don’t have the ability to use proportioning valves in ST, changing calipers is a coarse way of adjusting bias. These calipers are 4-piston, but one of the larger 4-piston units; if there’s too much rear bias, I can go to a smaller 4-piston; if there’s too little, I can step up to a 6 piston.
Made some big orders over the weekend, a complete interior is on its way, along with a few race goodies. Particularly excited about the battery; wish this one had been out for the last couple ST cars I built!
Back home at last! Phase 3 complete
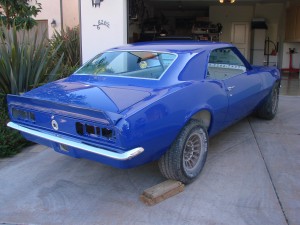
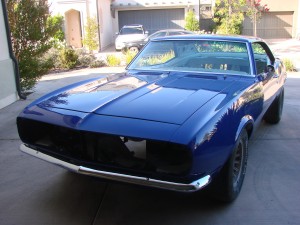
Pat brought the car back home last night. Looks fantastic! Can’t believe I’ve owned this thing almost a whole year now. I am extremely pleased with the work Pat did, and the timeline he was able to keep. The body and paint portion of this project was the one I feared the most. Heard so many stories of people getting their cars locked in “paint jail” for years, with bills piling up in the tens of thousands. Not here! He got the car done in 4 months, for the originally quoted price, which was about half of what some of the other big-name shops wanted.
The foundation is established, it’s now up to me to get this thing put together over the fall and winter. Need to do all the wiring, install and plumb the brakes, the fuel system, install the driveline, cooling system, and interior. Tons of little odds and ends. I figure it’s about 75% done at this point.
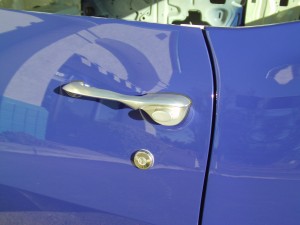
As for aesthetics, wasn’t really trying to reinvent the wheel here. The one place I tried to get creative (the door handles) was really a mess-up. The brushed aluminum Fesler door handles are really nice looking, but they don’t go with the stock chrome trim elsewhere-
Looks ok by itself, but alongside the other trim, not as much. Will probably just get a set of normal chromed pot metal handles.
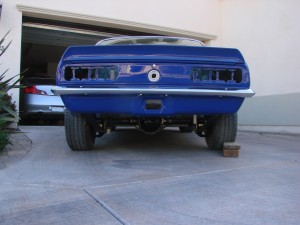
Some more outside…since it may not see daylight for several months, tried to get a few with it in the driveway-
Here’s a few inside the garage, its new home for a while-
“FEED ME A 302” I can hear it calling… 🙂
Compare to where it was a year ago:
Come a long way, still a long way to go…hope I can remember how it all goes back together! 🙂
Almost done with body and paint
Car should be coming home tomorrow, took a last trip to check things out today. Pat and team have done a really great job, in a really reasonable amount of time.
Great quality on the work. Paint looks fantastic, and the body lines are straight, with the gaps nice and consistent.
Fancy door handles installed
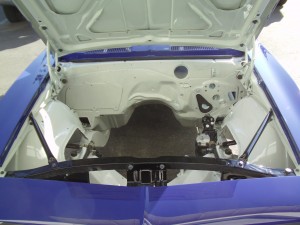
Engine bay minus the engine…
Still need to put on the spoilers – rear is going on tomorrow, front will go on later.
Glass back in
Checked on the car today, really getting close now, confident I’ll have it back on my hands to start putting things together over labor day weekend next week.
Fellow came by to install the new windshield and rear glass. This way the paint could be touched up easily if anything went wrong at install, fortunately it all went great.
Here’s a view into the engine bay, with the front end of the car about 2/3 assembled.
Rear glass and window trim installed
View down the side, begging to see how things will look
More progress on paint, getting close now
Been a long time since an update. Pat lost one of his key employees while expanding his shop, so he hasn’t been progressing as quickly as he’d like. Plus this phase had a lot of grueling work – fixing all the tiny imperfections in every body panel.
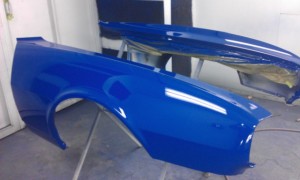
A couple weeks ago the ancillary panels got painted (these are all cell phone pics, sorry for the quality)
Fenders looking good-
Lots of wet sanding and buffing on all these parts. This week they started on hanging some panels. The fenders hadn’t been on the car since I took it apart, almost a year ago. They’re starting to get re-acquainted…
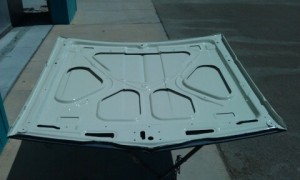
The hood was one of the more time consuming parts. It’s a huge piece, and Pat wanted to be sure it was perfect. The underside got painted first, in the same gray used elsewhere. Any leaks or splatter will be immediately obvious in this car!!
Could be as little as another week or two until it’s done and back in the garage.
Shades of things to come
The past several weeks, the car has been undergoing the bulk of the hard work that goes into a good body/paint job. Weeks of guide coats, sanding with increasingly fine grit sandpaper…Lining up body panels to ensure the gaps are even, lines straight. Then, take it all apart again for prime and paint…
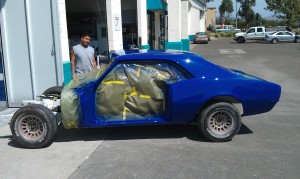
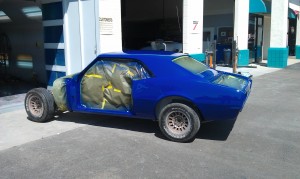
What do you guys think of my chosen color?
Looks pretty tough eh?
Ok ok, maybe “murdered out” isn’t the way to go on this project.
The cars and trucks I’ve owned have been black (CRX), red (Integra), red (944), red (S2000), black (RX7), black (F150), black (Ram 3500), red (240sx), black (another 240sx), black (Viper), red (Tundra) – heck even the Camaro was red when I bought it. So the color choice should come as no surprise…;)
…
Right?
…
Nahhh…
Duhhh, it’s a Penske/Donohue Sunoco clone after all. Here are some more:
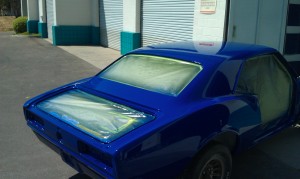
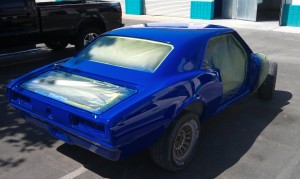
Always thought the first-gen Camaro’s flow from the C pillar into the quarterpanel was one of the nicest ever executed.
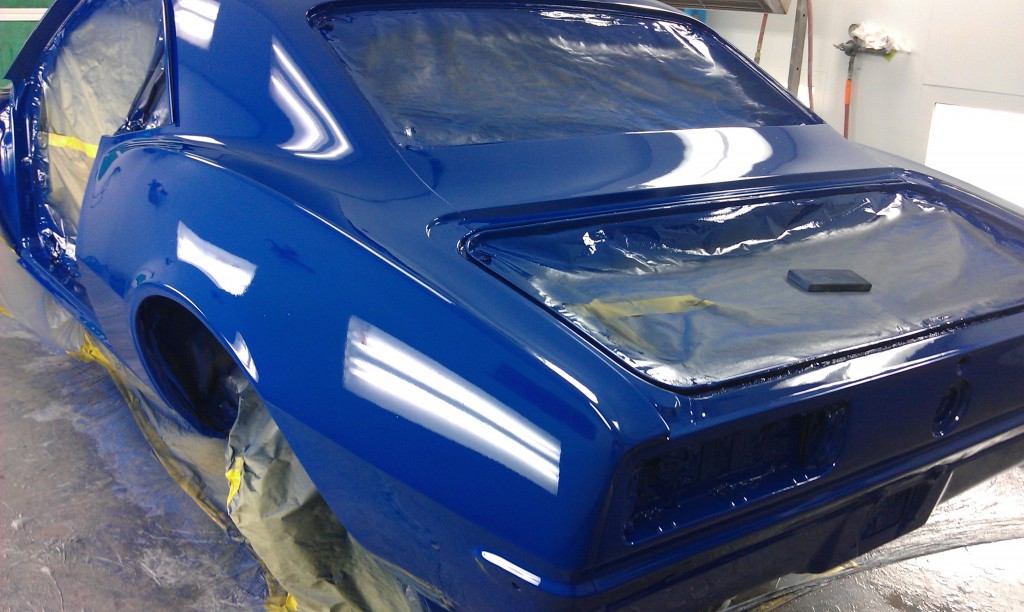
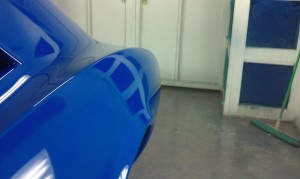
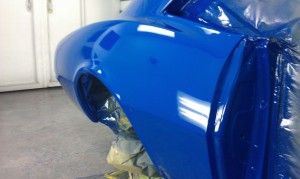
Looks a bit light here because of how bright it is in the booth. Should be a bit darker in person.
Still need to paint the remaining parts, then there’s a few weeks of assembly, wet sanding, and buffing. With some luck I’ll have it back by the end of the month.
Back on the ground
Got the body reacquainted with the front subframe and rearend today.
It all went pretty well, we made some good markers to help with subframe alignment so it could be brought right back where it needed to be.
Aren’t those wheels cool? Ha! The wheel/tire combo is actually about the right diameter overall, though I don’t think I’ll be going with 14’s. Lots of guys fixing up these cars are running brake rotors as big as those wheels!
Will be time to get the real rolling stock soon. I think I’ve decided on the wheels, and also the tires. Problem with ST is the stuff I buy today could be outdated for next season. Oh well…
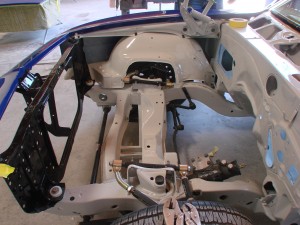
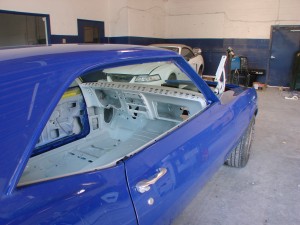
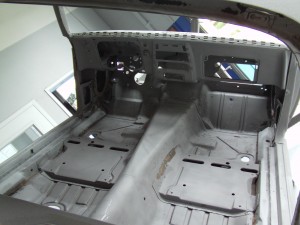
Getting an idea of the underbody and interior color yet? 🙂
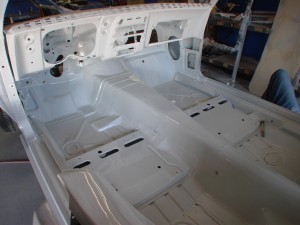
Inside…
Firewall same color-
Trunk too
Tomorrow the doors, front end, and trunklid will get re-attached. Then the “real” body work can begin, fixing all the highs and lows, and straightening/evening all the gaps.
Can’t believe how quickly this thing is coming along!!!
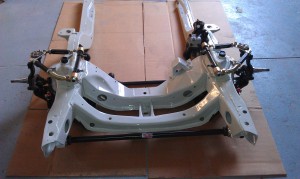
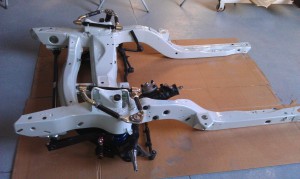
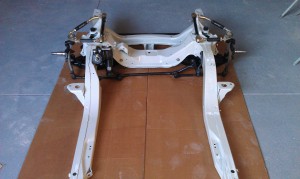
Front subframe
Still don’t have the correct outer steering arms, and no pitman arm, but this is a glimpse of where things are going.
Nothing all that exciting really. Can’t seam weld the subframe, as lots of people do. No Guldstrand mod (where the upper control arm mount points are re-drilled lower), steering is all stock stuff. Steering box is a rebuilt original 800 series, not the smaller and lighter 670 series most guys run. It’s heavy! Power steering adds almost 30 pounds to the car, all on the nose where it’s least desired…but I think with the big caster values I have planned, it’ll be necessary. The color looks almost white in these pics, though it’s actually a very light gray, custom blended. Perfect!
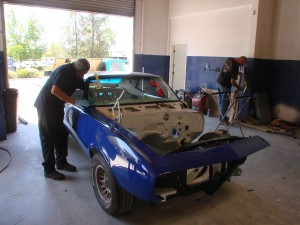
Body work progress, going great at Pat’s Custom Cars
Pat Smith of Pat’s Custom Cars has been making great progress with the car, I’m very pleased. We’ve all heard stories of cars disappearing in the body shop for months and years, or how they’ve served extended sentences in “paint jail”. Well, he’s only had the car a couple weeks and has already come a long way.
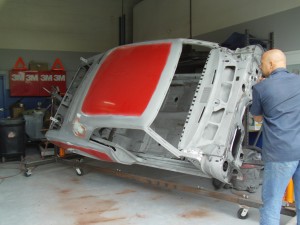 Back from the media blaster. Didn’t want to take off all the paint, as their tools can ripple the panels if you do the big unsupported areas.
Below two pics show the lead work smoothing out the panels joins, from the factory. They don’t do ’em like that any more! While we suspected the car was all original, nice to see it proven here. Shows how lucky I got, to start with a car that still had all its original panels.
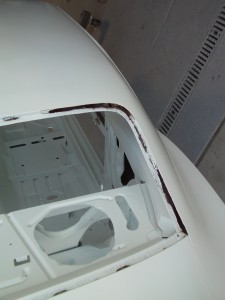
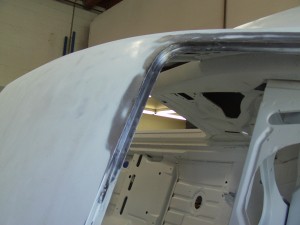
Now, it wasn’t all perfect. This thing was built over 44 years ago after all! A little rust had eaten into the rear window surround.
Similar thing at the bottom of the rear quarters, still quite minor in the grand scheme of things.
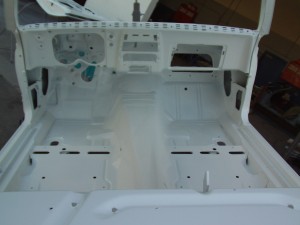
Interior down to bare metal
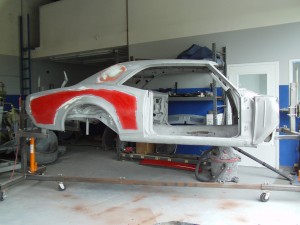
Remaining red paint removed from body. Goodbye and good riddance to the DIY Resale Red paint job! The previous owner’s work made everything on the car red; when we’re done here, there will be practically nothing red on the car.
The above couple pics represent something of an inflection point. The point at which the car as a whole, is at its most disassembled and raw. Everything that happens from here, will be in the direction of getting the car back together. It’s like the universe just went from expanding, to contracting. 🙂
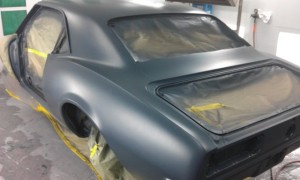
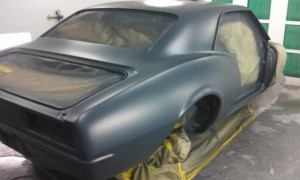
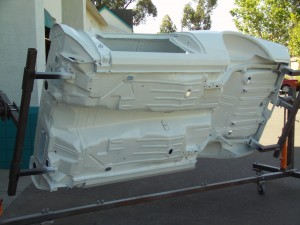
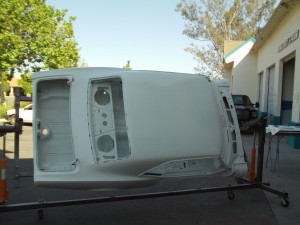
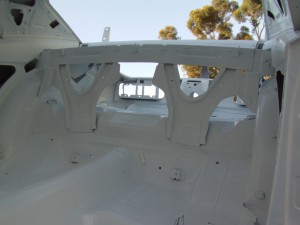
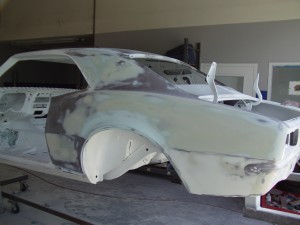
Here it is in its etching primer. I really like this look, reminds me of the “body in white” tubs certain factories have been known to provide race teams.
Here’s the rear window channel’s rust repair process
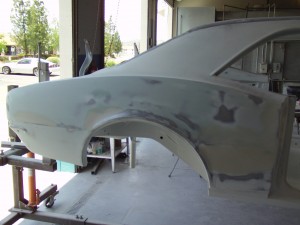
Rear quarters received new metal also. Sanding on the body begins…
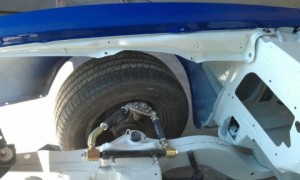
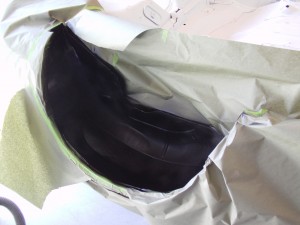
Rear wheel well beginning to get its new undercoating. First gen Camaros all received thorough undercoating in their rear wheelwells, and some* undercoating in the fronts. * – The exact amount and location in the front wheelwells, by year and build site, is still under debate amongst concours Camaro restorers. It’s a long story, but suffice it to say, it would be exceedingly poor form of me to show up with an ST car without its undercoat. 🙂
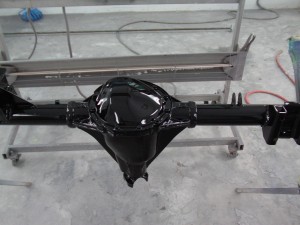
Rear axle gets its final paint. It’s the only thing in this post, presented in its final color.
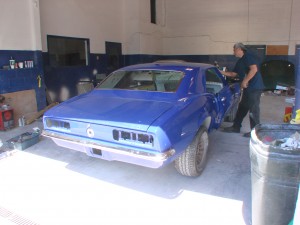
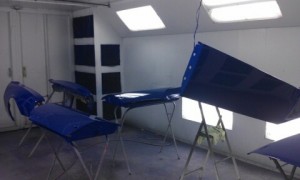
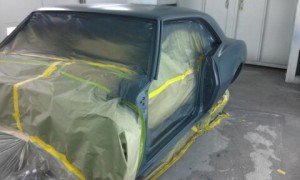
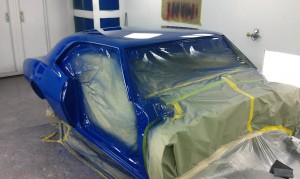
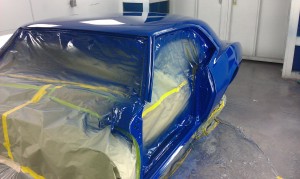
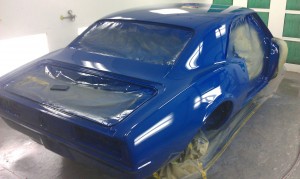
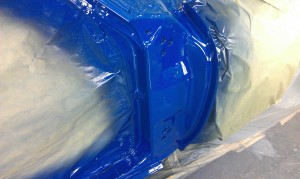
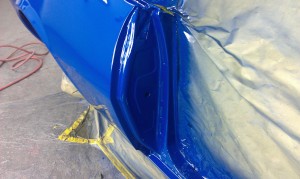
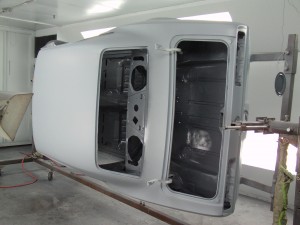
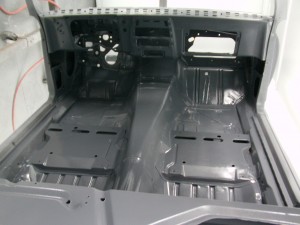
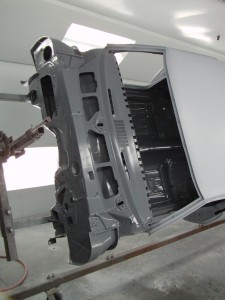
Took these myself this morning, car is in the booth for paint round 1. Will explain what I mean by that, once this round is completed.
More to come soon. One thing about an old car like this, is a lot of the interior is actually painted metal surfaces. In contrast to newer cars where everything in the interior is plastic, vinyl, or leather…in the Camaro, the dashboard, the tops of the doors, the steering column, the glovebox door, and several other surfaces, are painted metal. From the factory that stuff was most often black, but it doesn’t have to be… 🙂
