Phase 1 just about done
If we break this down into five phases,
1. Disassembly/teardown
2. Fabrication
3. Body/paint
4. Assembly
5. Tuning
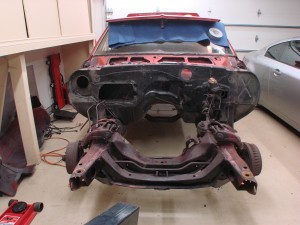
Phase 1 is pretty much complete. There isn’t much more I can take apart, and still be able to roll the car on a trailer. As it is I need to get the rear end back in the car.
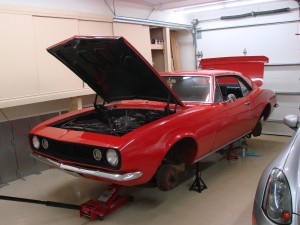
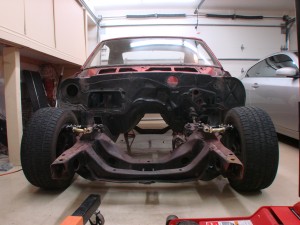 Car looks low here, mostly because the rear is still way up in the air. There’s actually 6 inches of ground clearance in this pic, at final ride height it’ll be about 2″ lower than this. Those upper control arms are from SPC, which I chose for their adjustability.
Next week the car is headed to Beta Motorsports where owner John Coffey will be doing all the difficult fab work and Phase 2 officially begins. I’ve known John for years, since we ran the Open Track Challenge back in 2003. He’s done a lot of really nice work for a number of roadracers and autocrossers in California. If you’re in So Cal and need some fab work done, give John a buzz – just please wait till he’s done with my car first if you don’t mind…:)
Check out the BetaMotorsports Youtube video
I’ve been chatting with John for several weeks on the project, and what started as 2-3 things for him to do, has grown to 10-11 things. It’s not that I’ve thought up a ton of new things, it’s just that as I’ve collected some parts and studied the car more closely, I’ve better realized the extent to which the aftermarket’s offerings aren’t up to snuff. There’s a lot of parts out there that are “close”, that just need a little welding to be made right, a couple other things will be almost scratch-built. Even those SPC upper control arms shown above, I believe we’ll need to modify to increase their adjustment range. Nothing worthwhile is easy!
Rear brakes got here recently – from before, the stock (awful, worn-out) rear drums weighed 43 pounds. Was hoping to save weight with my aftermarket brakes but it looks like I didn’t-
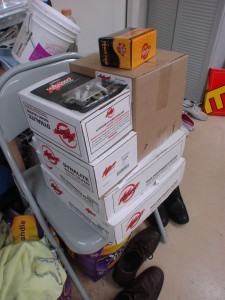 This pile of brake parts, everything needed for the rears, weighs 48 pounds. There may be a few pounds in packaging there, but at best, my rear brakes will be a wash from a weight perspective.
I worked out what I’m hoping is a good first stab at the piston areas for the rear calipers. They have to be “just right” in proportion not only to the front caliper piston area, but also to the master cylinder bore, taking into account pedal ratio and everything else. Fortunately with a company like Wilwood, I have a few different caliper options with this mounting style and dimension, so I can swap calipers relatively inexpensively if I did this really wrong.
Rotor diameter is 12.19 to start with. I know that’s really disappointing from a bling-bling perspective, but my justification is thus:
1. For autocross, you really don’t need monster brakes, there’s not enough braking to overheat a reasonably sized system
2. Lighter is better, and the larger options will add weight. I’m already several pounds over where I’d hoped to be.
3. This is the largest I can run and still hope to fit 15″ wheels. While I don’t plan to run 15″ wheels while autocrossing, the vintage Trans-Am cars always ran 15’s, so I thought it would be cool to be able to slap on some old Minilite-style wheels or whatever, if I’m ever at an event where I want the car to look even more like the classic Trans Am cars. Plus you never know what new tire sizes might come out some day – if somebody decides to build a radical tire that only comes in an ideal size for the car in 16″ diameter, I wouldn’t want to feel screwed out of that tire, or have to change the brakes to fit them. The more wheel diameter options you have, the more tire options you have, and tires are the most important part of the car.
Speaking of important parts of the car, I hope to be picking something up this weekend that is certainly a very very important part of the car. More to come there, maybe Sunday if it’s ready.
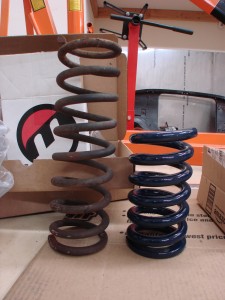
In that pic above, the car is sitting on 9.5″ long 5″OD springs, a size Hypercoil and others label as “conventional” springs in their catalogs. Below is one of those springs, next to a stock spring. The stock spring is almost twice as long!
Almost done taking things apart
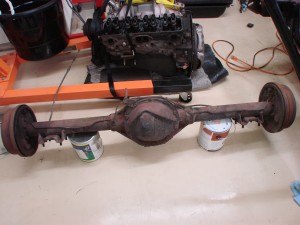
The rear end from this car is GM’s lighter-duty “10-bolt” axle. While it’d probably be able to hold up to the power I’ll be making with the tires I’ll be using, the Z28 came with a 12-bolt so that’s what I need to get. The 10-bolt came out today-
Sucker is heavy, I didn’t weight it, but 120-130 pounds is probably about right. I peeked under the drums, the rear shoes were worn down to their rivets. Wonder if they’re the originals?? Haha. I tried not to get too close, there’s probably asbestos in them, not to mention all sorts of other places.
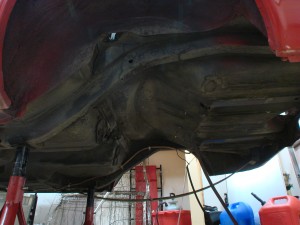
With the axle out of the way I also pulled the fuel tank. Figured with all the welding about to happen back there, didn’t think it’d be a good idea to have 10 gallons of it in there. Instead of siphoning I pulled the tank out with the gas in it, and poured into spare cans. Lots of room back under there with all that stuff out of the way.
Played around a bit with the front suspension, see what sort of bump travel I’ll have available. It looks like it actually starts to curve the right way at the extreme of bump travel, will have to see if I can actually operate there. Was thinking I’d need to find a donor 265/35-18 tire for test fitment, but checked and found the 245/60-14 tires I got with the car, are actually the same diameter! Obviously the “real” tires will be an inch or so wider, but this should help get the suspension travel range in the ballpark.
Found a smokin’ good deal on the driver seat I’ve always wanted. It showed up a few days early, so that was a nice bonus. Won’t be showing it off ’til it’s all mounted in the car.
Not a whole lot left to do in teardown. Going to leave the steering intact for now to make it easier to get the car on the trailer. Need to finish pulling the brake hardlines and stripping the interior. Need to acquire a 12-bolt, then get it going on the road to re-assembly!
Going further to pieces
Didn’t have as much time as I would have liked this weekend, but did make some progress.
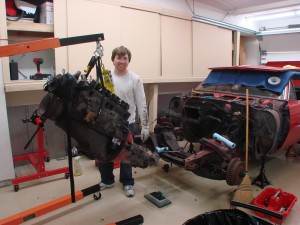
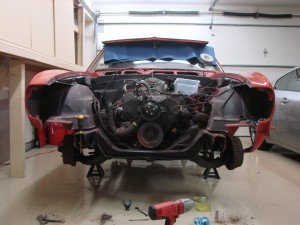
Fenders are off, motor and trans are out. Even though this thing weighed twice as much as any motor I’ve pulled in the past, it was easily the…easiest. Probably helped that there was no “car” in the way… 🙂
Couple things I did wrong here – it helps if you drain the transmission fluid in advance. Second, don’t do what I did with the ratchet-straps, use chains. I didn’t get the chains when I borrowed the hoist and had to improvise.
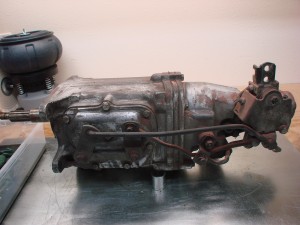
The Muncie transmission was pretty light actually. It is set to get cleaned up. Unfortunately the casting number indicates it’s an older transmission. Don’t yet know if the guts are the same, this one probably has a 7/8″ cluster pin, the newer/correct one for the car has a 1″ pin. Will have to see what I can use from this thing, and the rest will be up for sale.
With a casting code of 3851325, this thing could be as old as ’64, man that’s crazy old! No offense to me more senior readers.. 🙂 Actually it looks to be in great shape. And that weird pot-looking thing hiding behind the transmission, will come into play very soon.
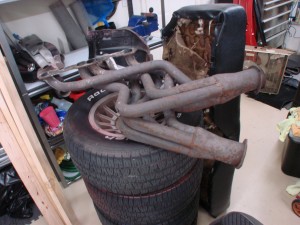
The exhaust headers had three varieties of fastener holding them on. A couple were snug, most were finger tight, the rest plain loose. Between that and the big grommet-less holes in the firewall, it’s no wonder I was so sleepy the whole ride home…:) I’m thinking I’ll re-use these totally awesome headers in the build………NOT!
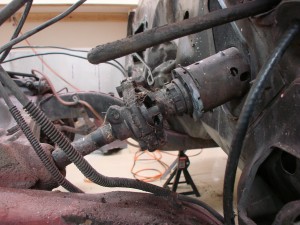
More funny stuff found in disassembly- the distributor rotor only had one of its two screws holding it in. The carb gasket had big chunks missing. Fuel line was kinked in two spots. And you just gotta love the condition of the steering’s rag joint-
Overall I am very pleased with the condition of the body and frame as it comes apart. No real rust to speak of, even in the usual places. Pretty much everything else will be replaced, so the raggedy-ness of it all just adds amusement.
Still need to finish emptying the interior and stripping out the rest of the ghetto wiring, then we’ll be ready for some real fun. Looks like I’m actually going to order a couple parts this week!
Initial disassembly
Did some dismantling of the car today, while the Seahawks dismantled the Chargers.
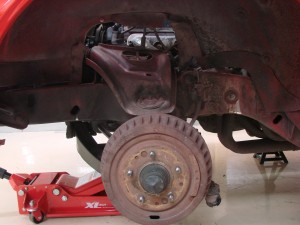
Some “before” shots of the front and rear driver-side wheelwells. The front drums, at least they’re finned! Ha
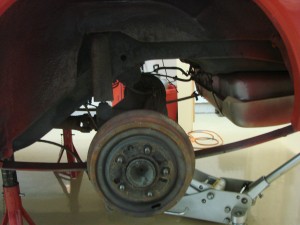
The rear axle looks lonely floating out there in space on its mono leaf.
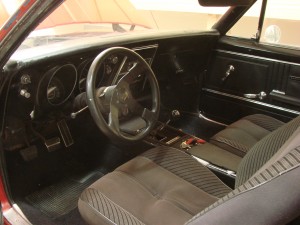
I’d anticipated replacing everything mechanical – engine, transmission, rear end, suspension, steering, brakes – as part of either the Z28 conversion, or as part of the STX upgrades. One area that will need more attention that I anticipated is the interior. Was hoping to salvage some things, and from this picture it doesn’t look too bad-
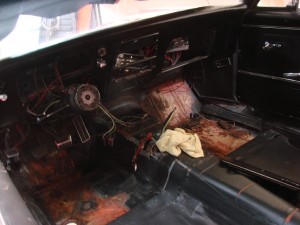
But really, everything in the interior is going to need to be replaced. When the time comes to order those parts, it’s sure to make the sales quarter for one of the Camaro restoration vendors. The window cranks and door pulls are okay, and I might be able to sell the door panels and center console. But everything else needs replacement, including all the little nickel-and-dime things. The car has some kind of aftermarket wiring kit in it. There’s not a lot electrical to these cars, especially the way I’ll have it optioned, so it’ll get all new factory wiring harnesses.
The floors look perfect from underneath the car but pretty yucky from inside. Fortunately they passed the “icepick test” (could Sharon Stone make a hole in the floorboard if she tried? if not, the panel can be kept) so they will just need to be cleaned and thoroughly de-rusted.
The car was originally Marina Blue, it was nice to see some of that color appear under the dash, and behind the hood hinges when removed. The previous owner had done a DIY respray in an orangish-red, and with all the overspray and buffing he did, just about every exposed surface of the car, including everything in the engine compartment, has a reddish hue to it.
The front of the car came apart fairly easily. To people who have worked on these old cars it’s all old hat, but to me, I couldn’t believe how beefy everything was. Needed another hour or so to finish and get the fenders off, ran out of time.
With another weekend or two’s worth of work, should have the car fully apart and ready for the construction phase. Gotta get all the way to the bottom before you can start the climb back up!
Jackstand Bound and Down
Smokey & the Bandit is in arguably the best car movie ever! RIP Jerry Reed
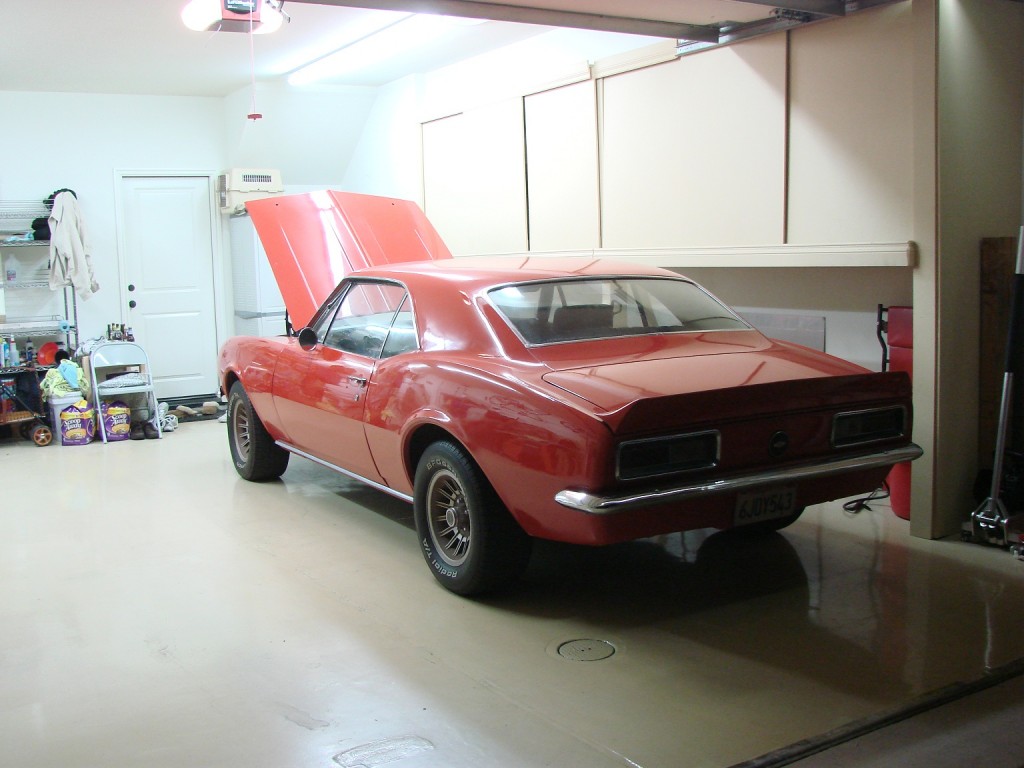
Getting ready to send the link to this site out to a few places, wanted to start it off with a pic instead of that big ugly post about boring rules. Here is the car, one last pic before disassembly…
