Subframe connectors completed
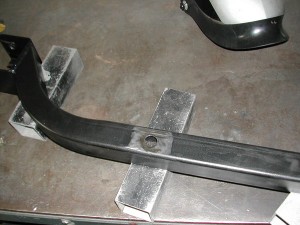
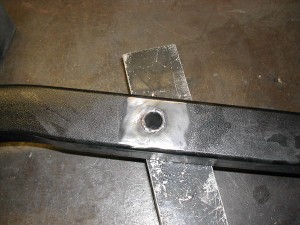
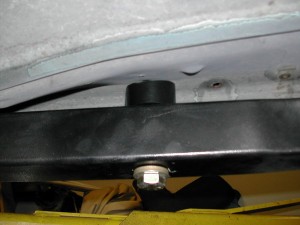
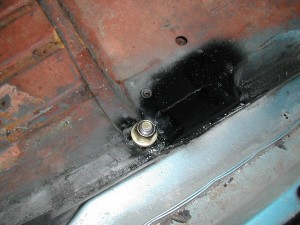
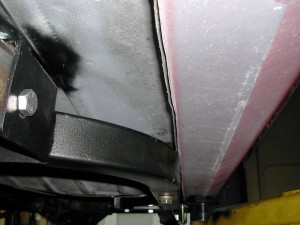
Well these puppies are finally done! Not content with the method of attachment as provided, I had John modify them to add a third attachment point, about halfway down their length. John found a place that would work on the chassis, then drilled a hole and welded in a tube to hold the bolt:
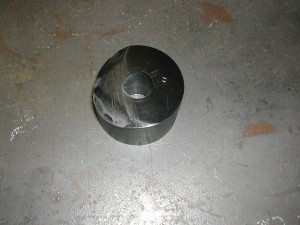
Since the connectors don’t sit flush with the floor of the car at that point, he had to make custom delrin spacers between the car and the connector.
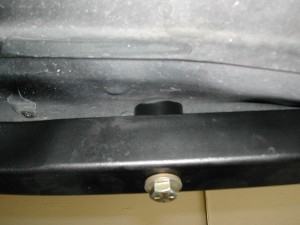
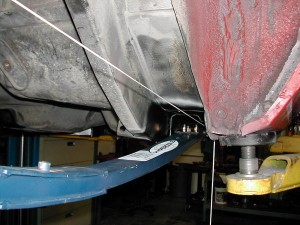
Here they are installed. They look like they’re different heights because they are. Uniformity of 60’s chassis aren’t quite what we see in more modern stuff-
My hope is this additional attachment point, on a different longitudunal axis (the as-delivered front and rear attachment points are in-line longitudinally) will provide a meaningful increase in torsional rigidity above-and-beyond the parts as they came. We can’t do weld in and are allowed 3 attachment points so by golly I’m going to make use of all three!
Every part on the car that doesn’t absolutely have to be there, is going to have to work hard to prove to me it’s worth its cost in pounds. I may do some testing down the road with the connectors removed, to see if, in measured time around a course, I’m getting 24 pounds’ worth of rigidity out of them. If their benefit is not worth their weight in time, off they go. These things are about as good as I think you could make 3-point bolted-in subframe connectors so if they aren’t worth it, nothing I do legally with the allowance would be.
Third attachment point comes through in proximity of rocker and pan reinforcement for seat mounts, should be a good spot to take some loads.
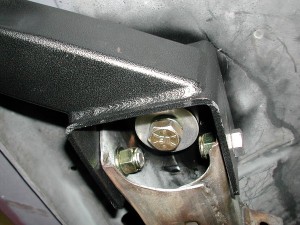
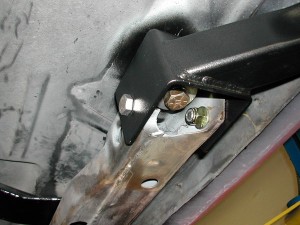
Front connections all snugged up
And the view from front to back.
Another benefit they should provide a good safe place to jack up the car from the side. The traditional front crossmember jack point will be inaccessible at the ride height I’m likely to end up with, especially since it looks now like we’ll be able to use factory-only spoilers – a rule change which happens to suit me PERFECTLY, as I’d only ever wanted to run the factory front air dam and rear lip spoiler. I don’t know if I’ll be able to use the traditional under-diff jack point in the rear either, once all the workings of the rear suspension are together. These things may end up providing the only good place to jack up the car. So hmmm, maybe I will have to keep them regardless…driving a car up ramps just to get a jack underneath is a tremendous pain – been there, done that.
CVD Series – Chapter 3 started
Made a couple updates to the CVD series, chapter 2 and 3a. If you mouse-over the ![]() box at top, it should provide a drop-down to all chapters.
box at top, it should provide a drop-down to all chapters.
Chapter 2 is a boring yet somewhat gruesome dissection of a classic autocross lap.
Chapter 3a is the longest yet, explaining the process for evaluating and comparing the rolling acceleration capability of two cars. This should be a good resource if you ever find yourself embroiled in a “horsepower vs. torque” debate.
Started work on 3b, then on to cornering! Car got back-burnered for a couple weeks while John works a little magic on an A-Mod autocross car.
Little more fab – leaf spring shackles
John made some more progress last week on the car. I’m actually very excited about the most recent thing completed – he was able to bring to life in steel, a part I’d only been able to visualize.
What part? Well, let’s just say this car will have the most kick-butt leaf spring shackles ever. 🙂
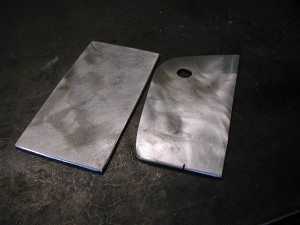
I don’t quite yet want to show the part, I’d like to wait until the car’s had its underside cleaned and painted so it’s all uniform. This is something of a hint though:
For the next couple weeks John’s been pulled into some other projects to the car’s on his back burner for a bit.
